Giselle Onofre
3D Printed Prosthetic Hands

Skills: 3D Printing, Machining

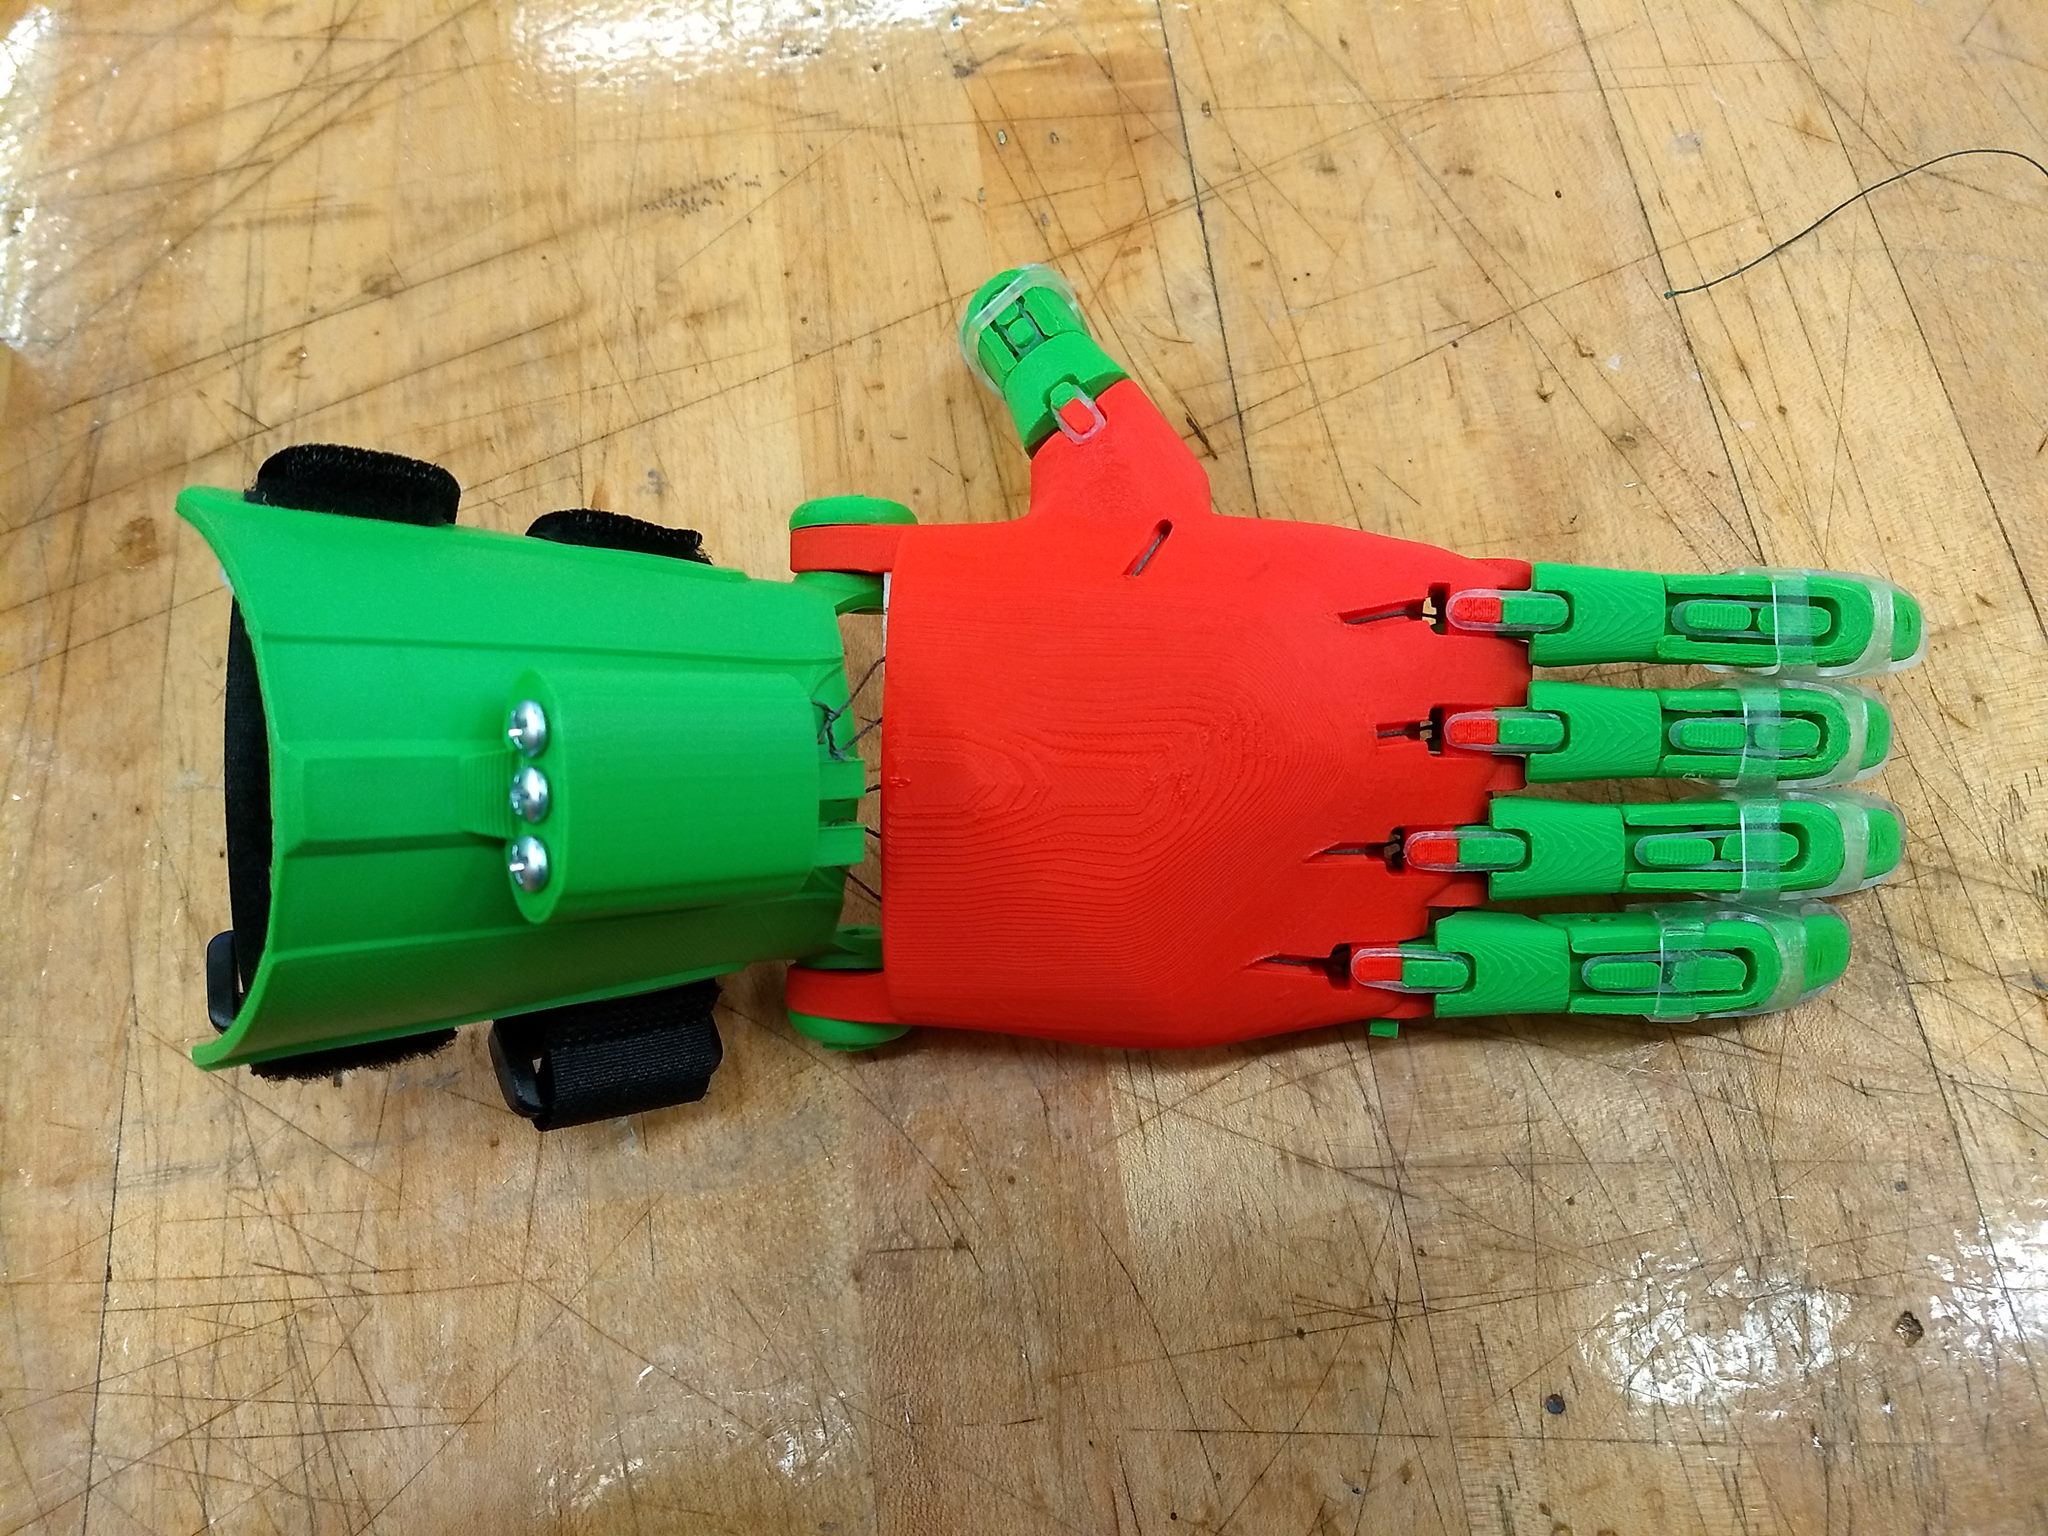
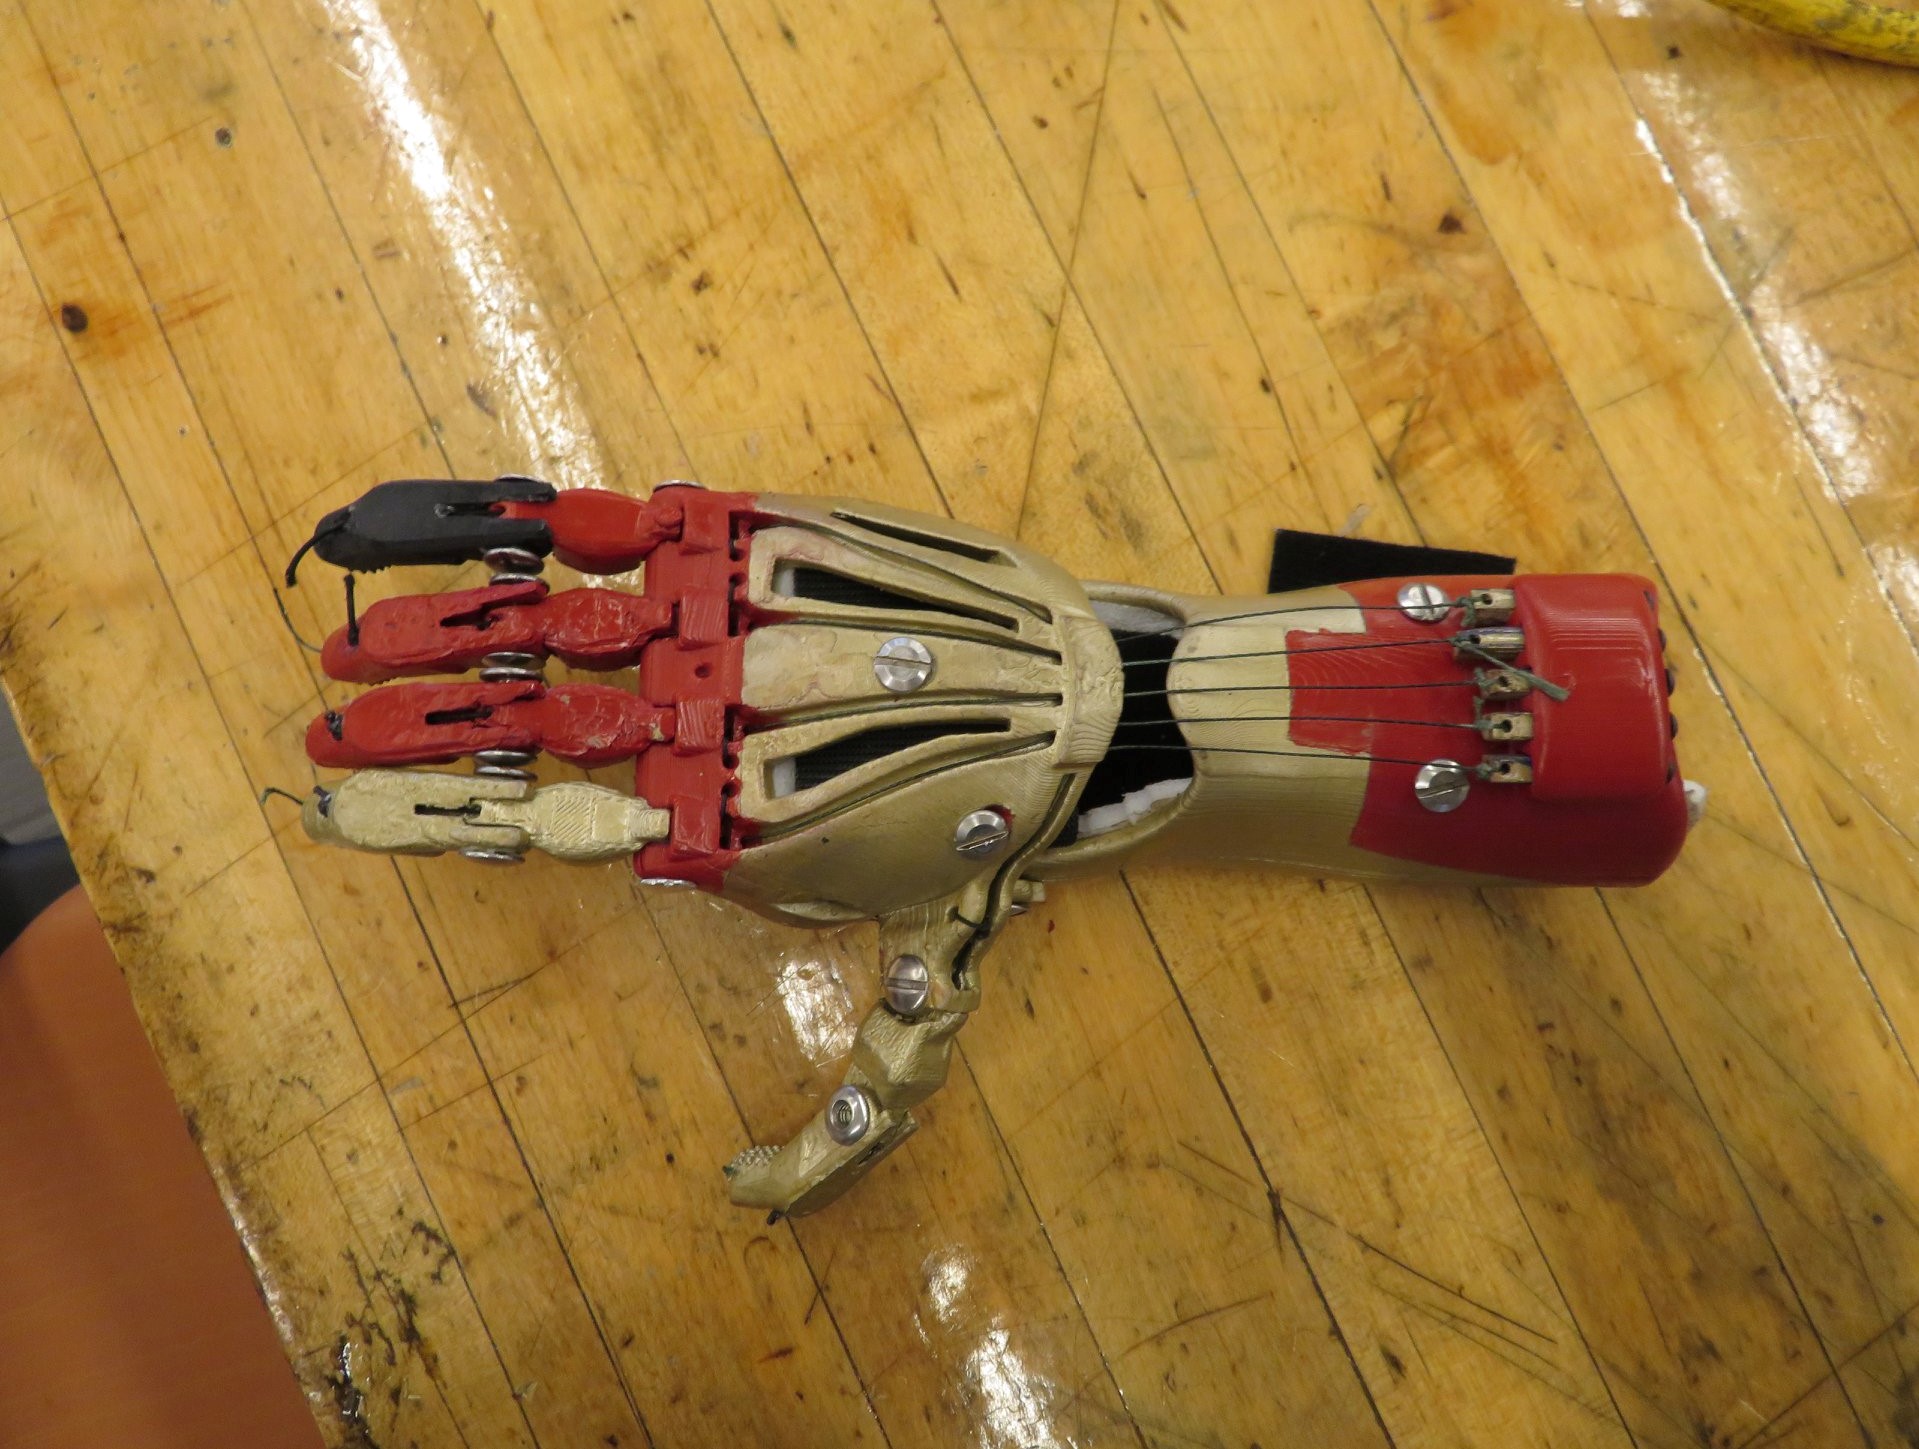
For this project, I worked alongside one other teammate to fabricate two prosthetic hands. The original goal of this project was to serve as a proof of concept demonstrating the ease and time-saving approach of 3D printing hands. One of my former professors hopes to expand this project further in the near future by having us fabricate an open-source hand model from the e-Nable Foundation for a friend's daughter who is missing a portion of her 
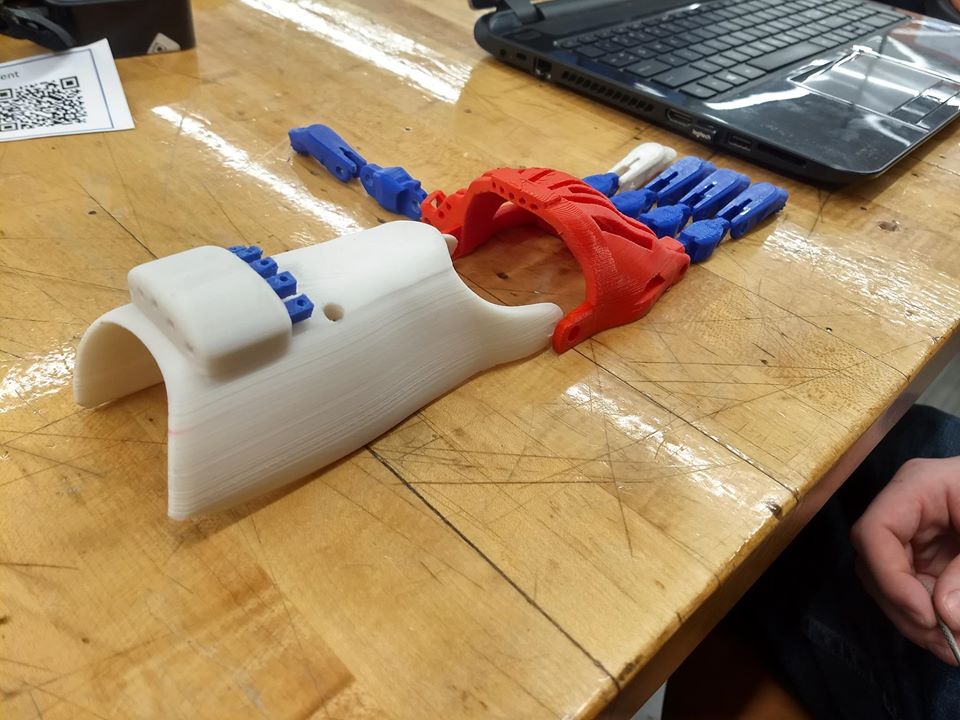
top hand. The open-source hand models my teammate and I printed lack a CAD model and were only available in an stl format. While this format can be manipulated in a software like Blender to allow for user customization, I'm currently researching to develop my own open-source hand model that can be manipulated in an easier way.
enable parts
Fabrication: 3D Printing
Using the open-source models for the Phoenix Hand and Cyborg Beast made available by the e-Nable Foundation, my teammate and I set out with the .stl files and began printing them on the Ultimaker printers available to us. Through this project, I learned a ton about 3D print settings in Cura and optimal 3D printing settings. The only print fail we encountered was not having proper support settings for the on our Phoenix Hand Model. Since this was my first time 3D printing, I made the mistake of having supports running through the holes of the hand portion where we were meant to run a tensioning string through. Removing these tough PLA suppports in such a confined space was extremely difficult so we ended up having to print out a new model.
Assembling The Components
Assembly was a straightforward process. My teammate and I started off with the simplest model, the Phoenix Hand. The e-Nable foundation sells kits to go along with their open-source models including tensioning string. rubber finger grips, and rubber bands for the Phoenix Hand. Putting the hand together was just a matter of following directions created by an e-Nable volunteer. The Cyborg beast model was a different story but that's what made it fun! There were no clear cut tutorials for this so we just based it off of some of the instructions for the Phoenix Hand model and recommendations from the e-Nable volunteer community. We also had a kit with our Cyborg Beast model but not all of the components included were sized to fit our model's scaled size so we drilled out larger holes using a drill press to attach the components together. We were able to complete assembly on our Cyborg Beast and we also added in some pizzazz to our hand by spray painting it to resemble Iron Man's hand!
Flower Render
phoenix hand
map
cyborgbeast
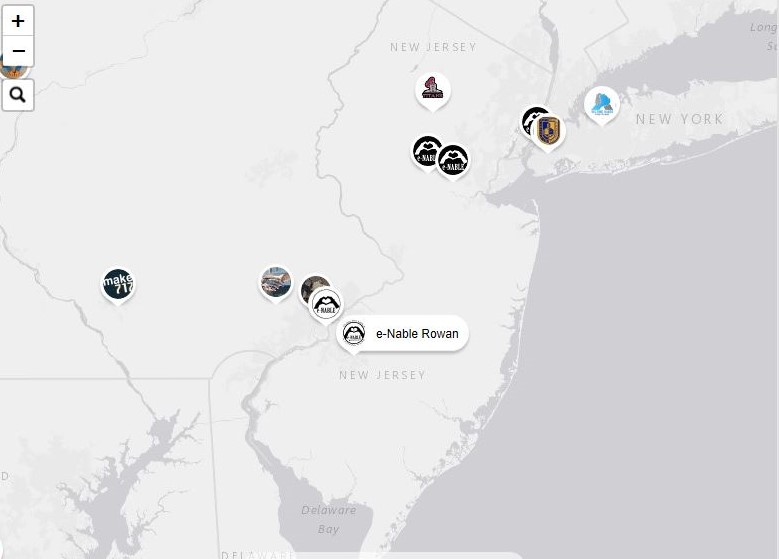
First South Jersey e-Nable Chapter
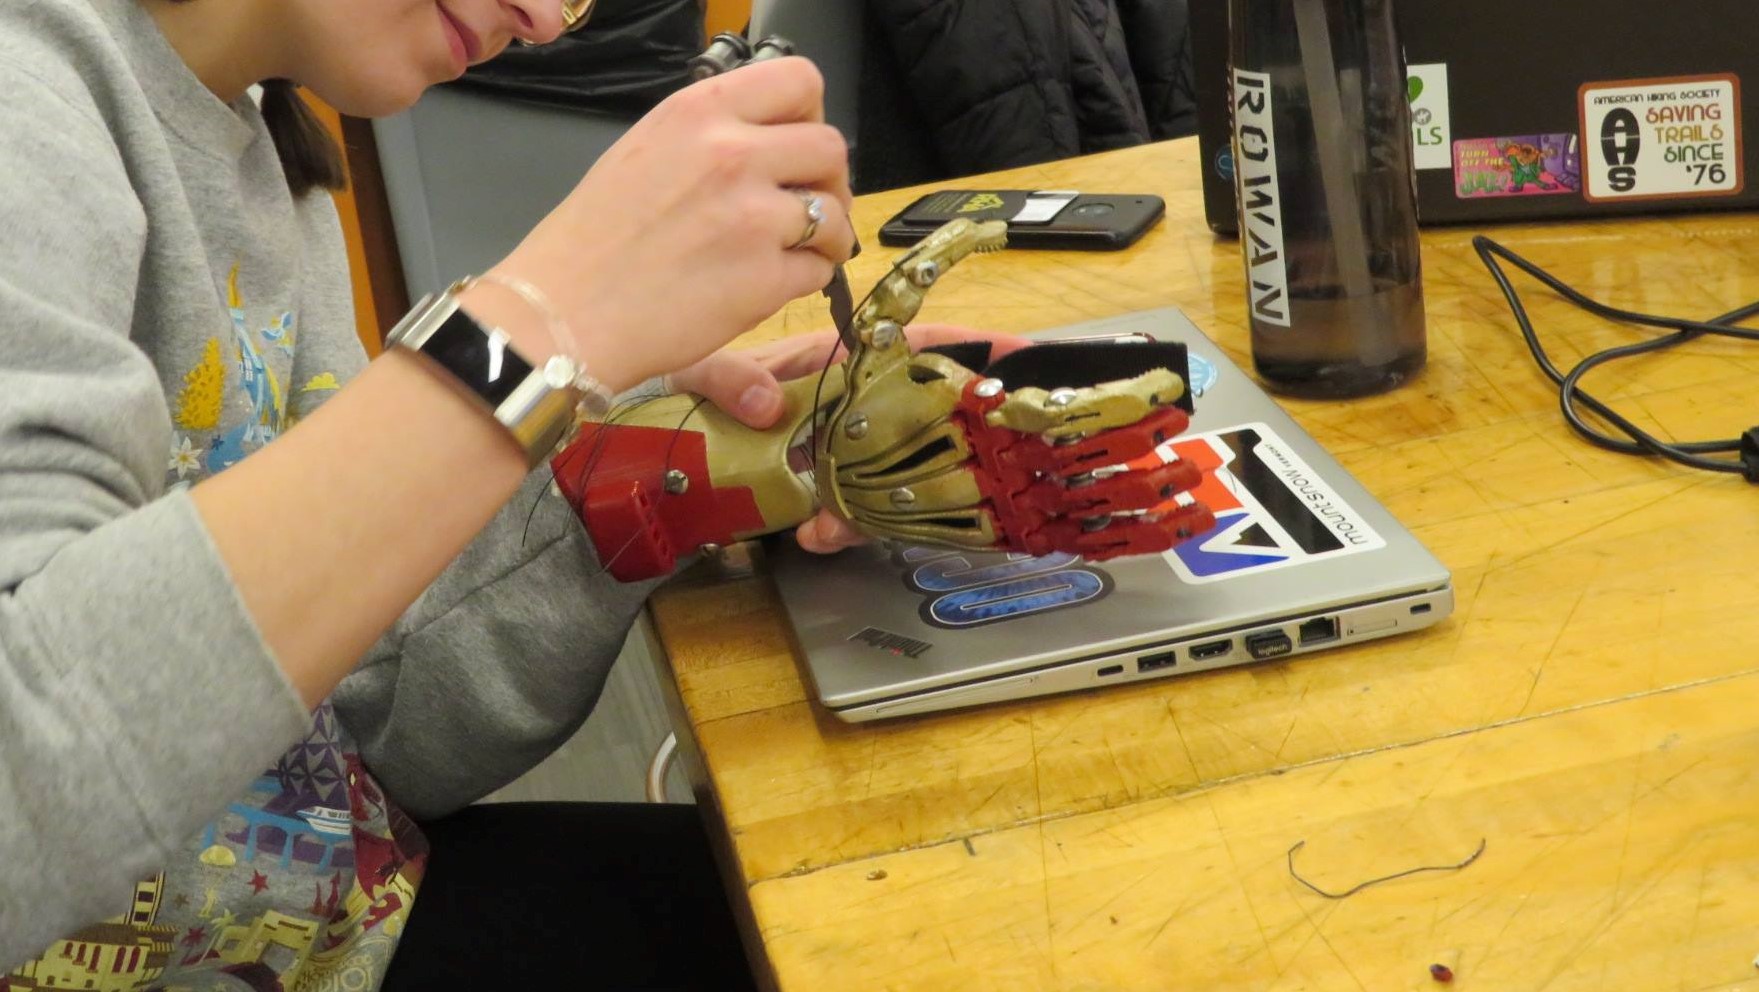
After my teammate and I finished assembling our hands, we presented our Phoenix Hand and Cyborg Beast devices to the e-Nable Foundation to obtain Fabrication and Assembly Certification Badges for both hands. With the approval from Rowan University and a faculty advisor, we were able to set up an e-Nable chapter at Rowan. Since my former teammate had graduated, in my final year at Rowan University, it was my responsibility to guide interested students on the fabrication and assembly process of the Phoenix Hand model. This gave me the chance to improve my skills by teaching someone else and pass on the torch to younger students who will continue to produce hands for patients in need.